
Databound Menus
A Databound Menu is a type of menu for which the menu items are handled by a Data Binding. The data source generates the menu items and the data sink receives selected menu items.
The following example shows a databound menu called Select WMP playlist:
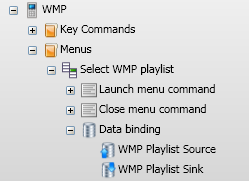
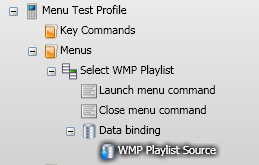
The menu Data binding holds a data source called WMP Playlist Source. The menu items are generated by the data source, in this case the items will be WMP playlists.
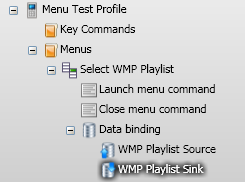
The menu Data binding holds a data sink called WMP Playlist Sink. Whenever the user selects an item from the menu, the menu item text will be sent to the data sink. In this case, the data sink will recieve the name of a WMP playlist. The data sink will then notify the WMP plugin that a playlist has been selected and the playlist will be loaded.
The following instructions will show you how to create your own Databound Menu.
a. Add a Profile Menu
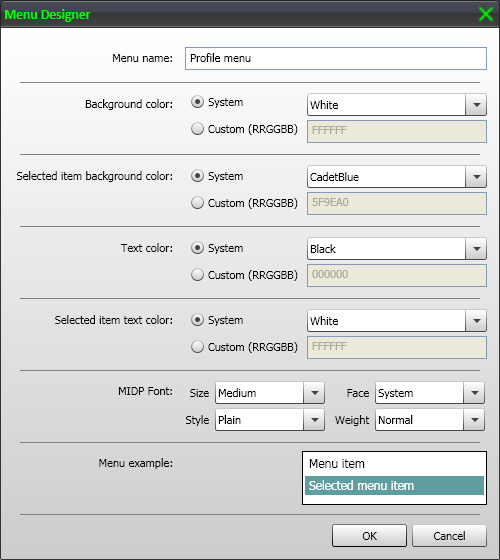
Select the Menus folder of your Remote Profile then select Profiles->Add Profile Menu from the main menu. The Menu Designer dialog will load:
b. Edit or accept menu design
If you are happy with the default menu design, click OK. Otherwise make the appropriate changes then click OK. For this example, the menu name was changed to Select WMP Playlist.
Note: The menu design can be modified later on by editing the menu
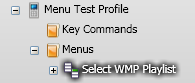
The Menus group of your Remote Profile will now hold the new menu:
c. Add a Data Binding
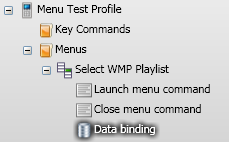
Select your menu then select Edit->Add Data Binding from the main menu. Your menu will now hold a Data binding:
d. Add a Data source to the Data binding
Select the Data binding then locate the data source you would like to add from the Setup panel. In the following example, the WMP Playlist Source has been added to the Data binding:
e. Add a Data sink to the Data binding
Select the Data binding then locate the data sink you would like to add from the Setup panel. In the following example, the WMP Playlist Sink has been added to the Data binding:
f. Setup the Launch menu command
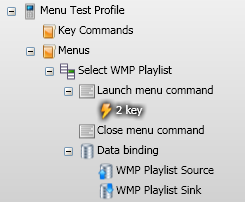
Connect to Vectir from your phone and load the remote profile that holds your menu. Select the Launch menu command item command held under your profile menu then press the Add Event button on the main toolbar. This is the icon with a lightening bolt and a plus sign.

The Event Setup dialog will now be displayed. Press the button on your phone that you would like to load the menu. After Vectir has received the event, the Event Setup dialog will close and a new event will be displayed under the Launch menu command. Select this event, press F2 and rename it to match the button you pressed on your phone. In the following example, the 2 key was pressed:
g. Setup the Close menu command
The next step is to setup the key that will close the menu. This key is required when no menu items were selected and the user wishes to close the menu.
If you have already setup the Close Profile Command for your Remote Profile it is recommended that you use the same key to close the menu that is used to close the profile. In this case, copy the event mapped to your the Close Profile Command and paste it onto the Close menu command of your profile menu.
If you haven't setup the Close Profile Command yet, follow the steps under step f above but select the Close menu command.
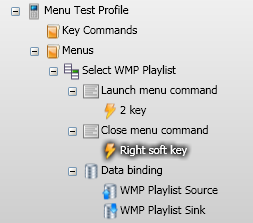
In the following example, the Right Soft Key has been mapped to the Close menu command.
h. Test the menu
Close and re-open the profile on your phone so menu information is reloaded.
Press the key you mapped to the Launch menu command under step f to load the menu.
Select some menu items and verify that the Data binding is working. If you followed the example above, Windows Media Player should be loading the selected playlists.
Load the menu then press the key mapped to the Close menu command under step g and verify that the menu closes.